
Christmas Chocolate Freckles
Posted by Roberts Edible Craft on 1st Dec 2025
There is something undeniably joyful about creating home made Christmas treats, and one that is instantly smile-inducing is a classic chocolate freckles.
This year, we have given this beloved favourite a sparkling holiday upgrade.
By pairing the traditional colours red, green and white non pareils with our brand new gold nonpareil sprinkle, you can create Christmas chocolate freckles that feel both timeless and a little bit luxe.
The pop of festive colour mixed with a touch of gold adds elegance to every bite, making them perfect for gifting, decorating dessert platters, ice cream toppings or simply enjoying with a cup of hot chocolate.
Whether you are a seasoned baker or just looking for a fun and easy holiday project to do with kids young and old, these golden Christmas freckles bring a little extra magic to the season.
So gather your supplies, and follow along with us to create your Christmas Chocolate Freckles. You can also download our FREE recipe sheet to print or save for easy reference. You can find it here Recipe Sheet - Christmas Chocolate Freckles
Ingredients:
- 300g Roberts Edible Craft Melting Buttons White
- Roberts Edible Craft NEW Gold Non Pareil Sprinkles
- Roberts Edible Craft Christmas Non Pareil Sprinkle Mix
Tools & Equipment:
- Baking Paper
- 4-5cm Christmas themed Cookie cutters
- Piping bags (14' or 18")
- Microwave suitable bowls
- Shallow Dish
- Baking Tay
- Spoons
Method One
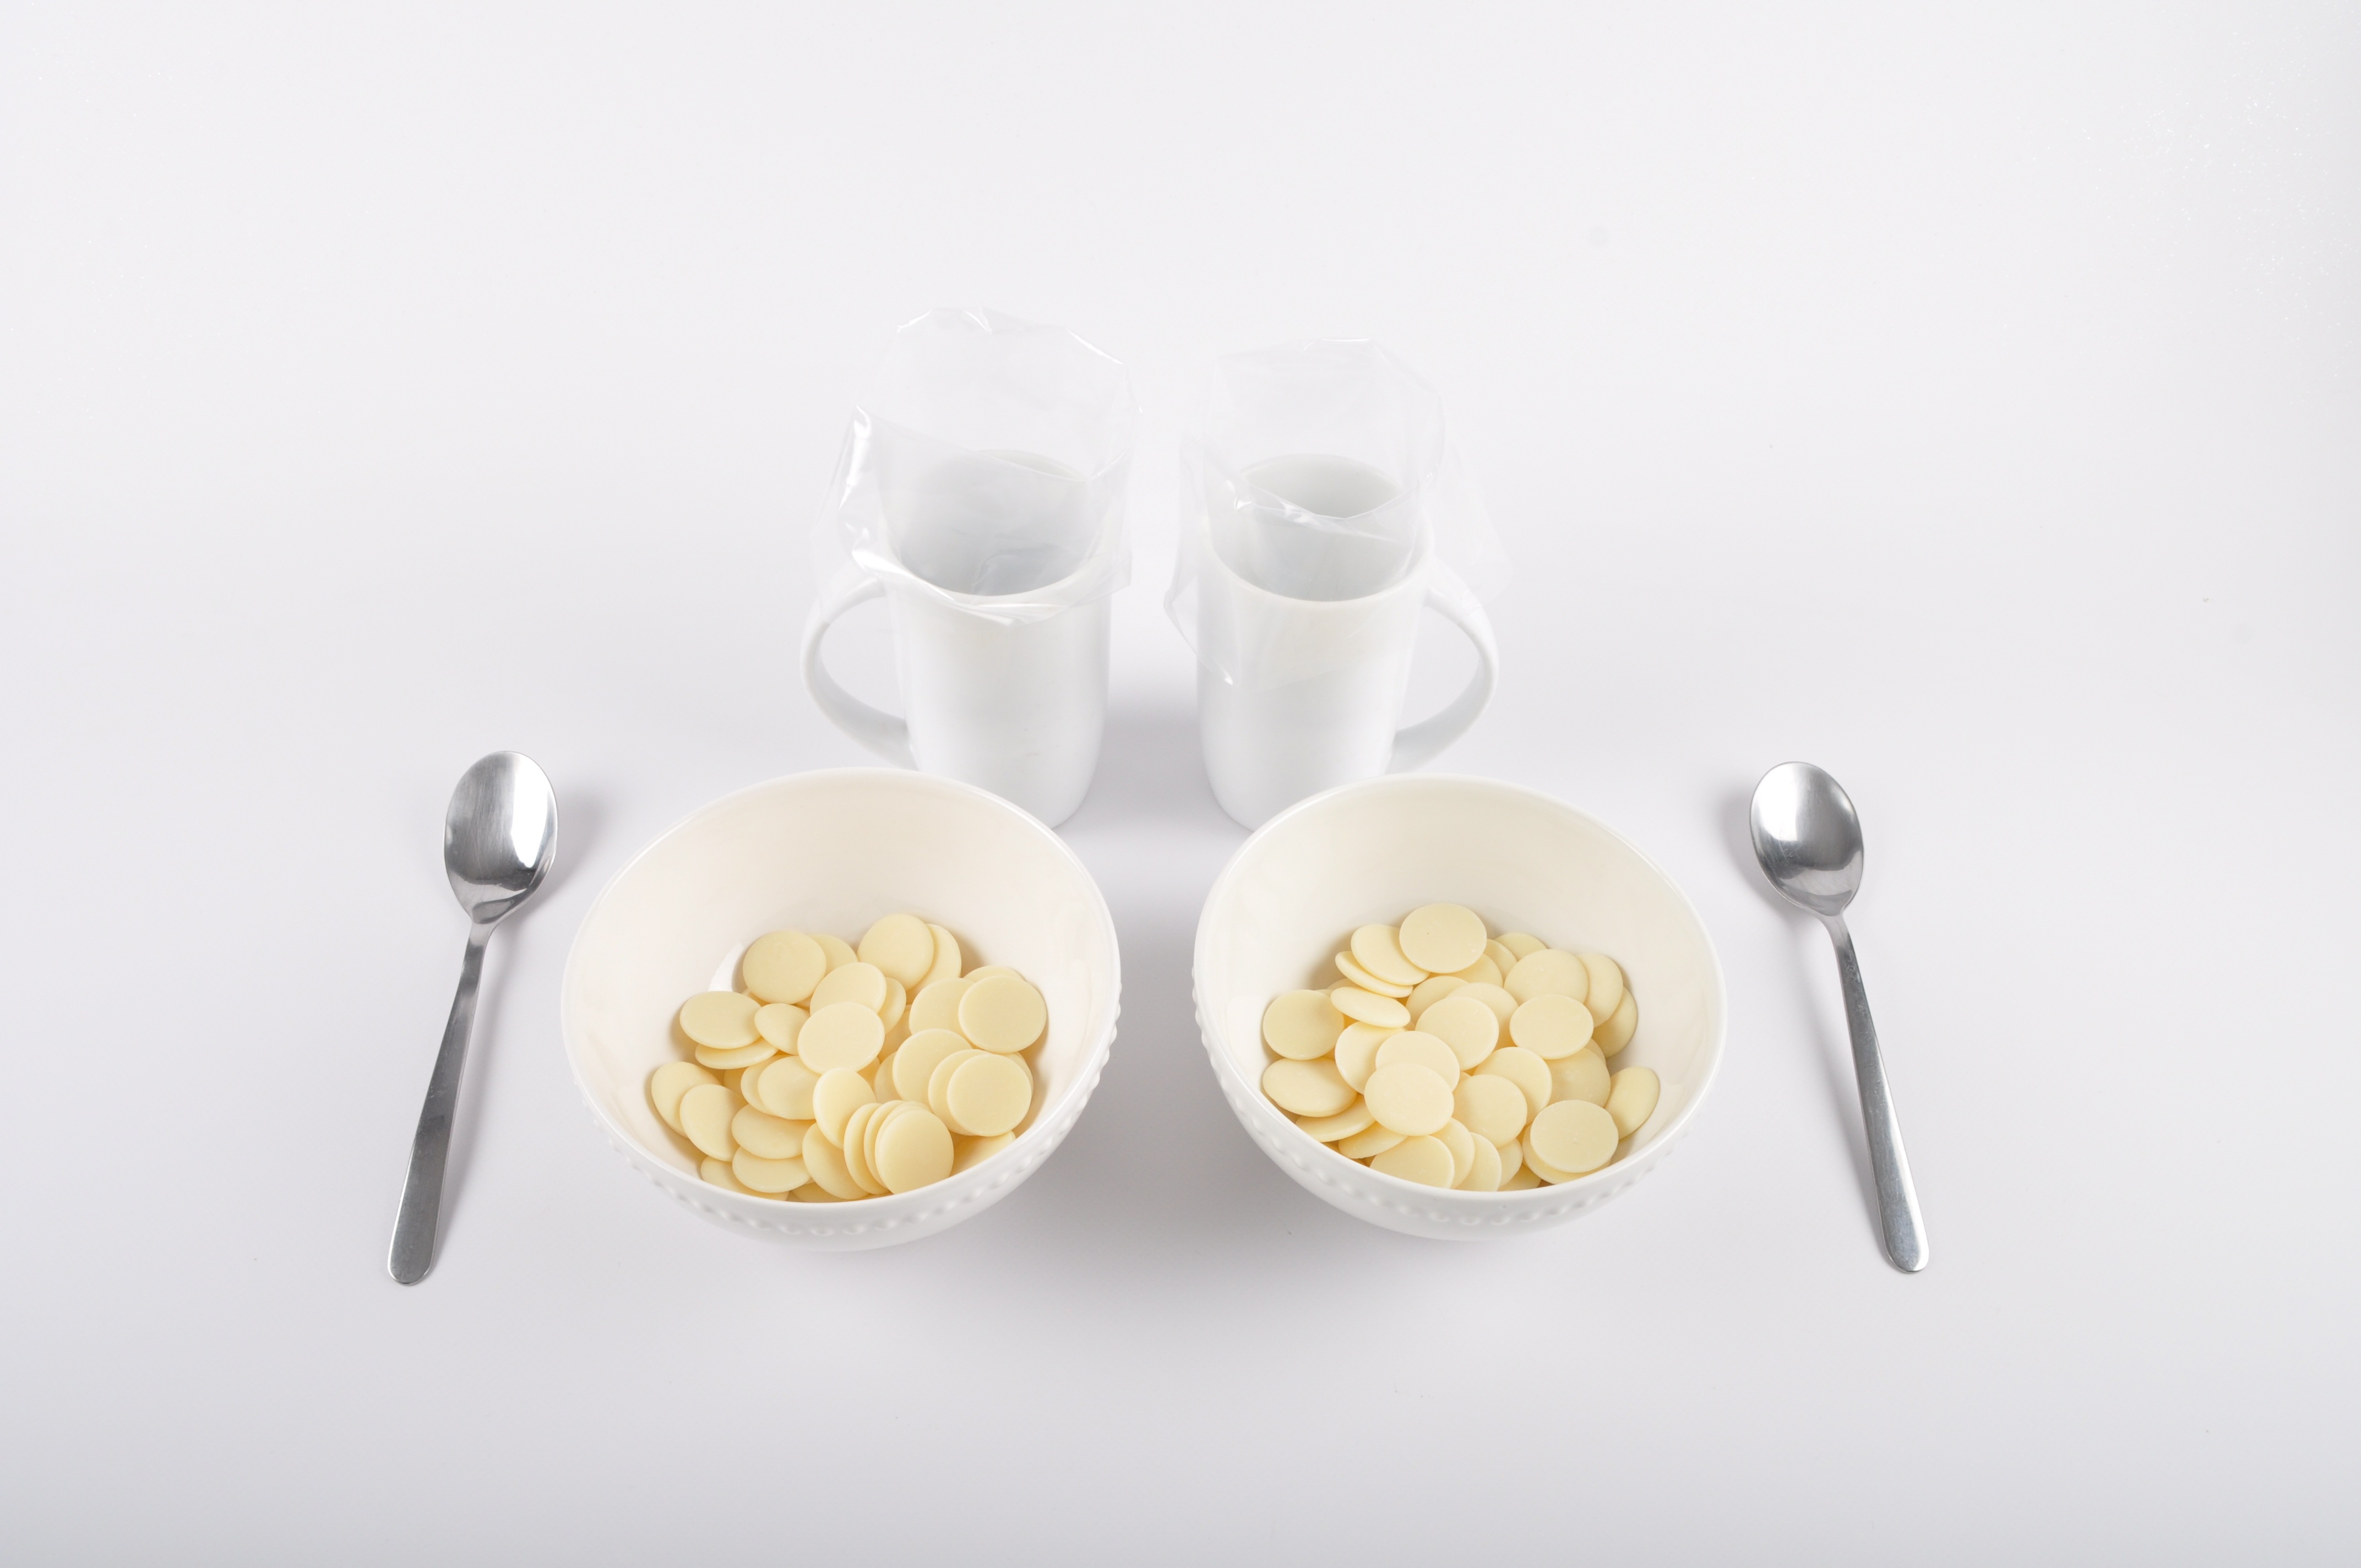
Step 1. Using two microwave safe bowls, place 150 gm of melting buttons into each one. Prepare your piping bags (if using) by inserting them into a tall mug or glass, pointed end down, and fold the sides up and over the side of the tall mug. This has them ready for easy filling.
Step 2. This method is to create freckles in varying christmas shapes using your cookie cutters. Using a small, shallow flat dish, fill with the sprinkles. Place your cutters on top and give them a gentle wiggle to nestle them into the sprinkles.

Step 3. Melt ONE bowl of your chocolate using short bursts in the microwave or the double boiler method and fill one piping bag. Pipe chocolate into each cookie cutter to create the chocolate piece. How deep you fill with determine the size and thickness of your chocolate. Aim for less than 1/2 way to create a nice bite sized chocolate. Using a piping bag will give you a lovely smooth finish to the back of your chocolates, but using a spoon will work just as well. Just give them a gentle little wiggle to settle the chocolate to create that even surface. (note the 2nd bowl will be used for Method 2)

Step 4. Allow them to set fully either at room temperature or in the fridge (if you are in a hurry). To determine if they have fully set, the cutters should slide away easily (as chocolate retracts once its cooled and set). If you have to force it out, leave it a little longer.
Method 2
Step 1. Place a sheet of baking paper onto a flat shallow dish. If your aim is to have uniform sizes and shapes, we suggest using our Piping Template Guide found here and place that underneath the baking paper.

Step 2. Melt ONE bowl of your chocolate using short bursts in the microwave or the double boiler method and fill the remaining piping bag. Pipe small circles (or blobs) leaving spacing between each to allow for spreading.

Step 3. Cover each one with sprinkles to achieve the coverage you want. Allow them to set before shaking off the excess. Using this method will allow you to create even shapes and have lovely peaks on the top side of your freckle.
Another method, is to cover the tray with the sprinkles and then pipe directly onto the sprinkles. This methods is useful when you aren't as fussed about creating even shapes, and you dont mind if the top and bottom of each freckle is flat.


Have fun with using different sprinkles

and have fun creating fun things for Christmas. Whether its a Kris Kringle Present, a Teacher Thank you gift, or just for the table!


