No Place like Home - Gingerbread house
Posted by Roberts Edible Craft on 16th Sep 2025
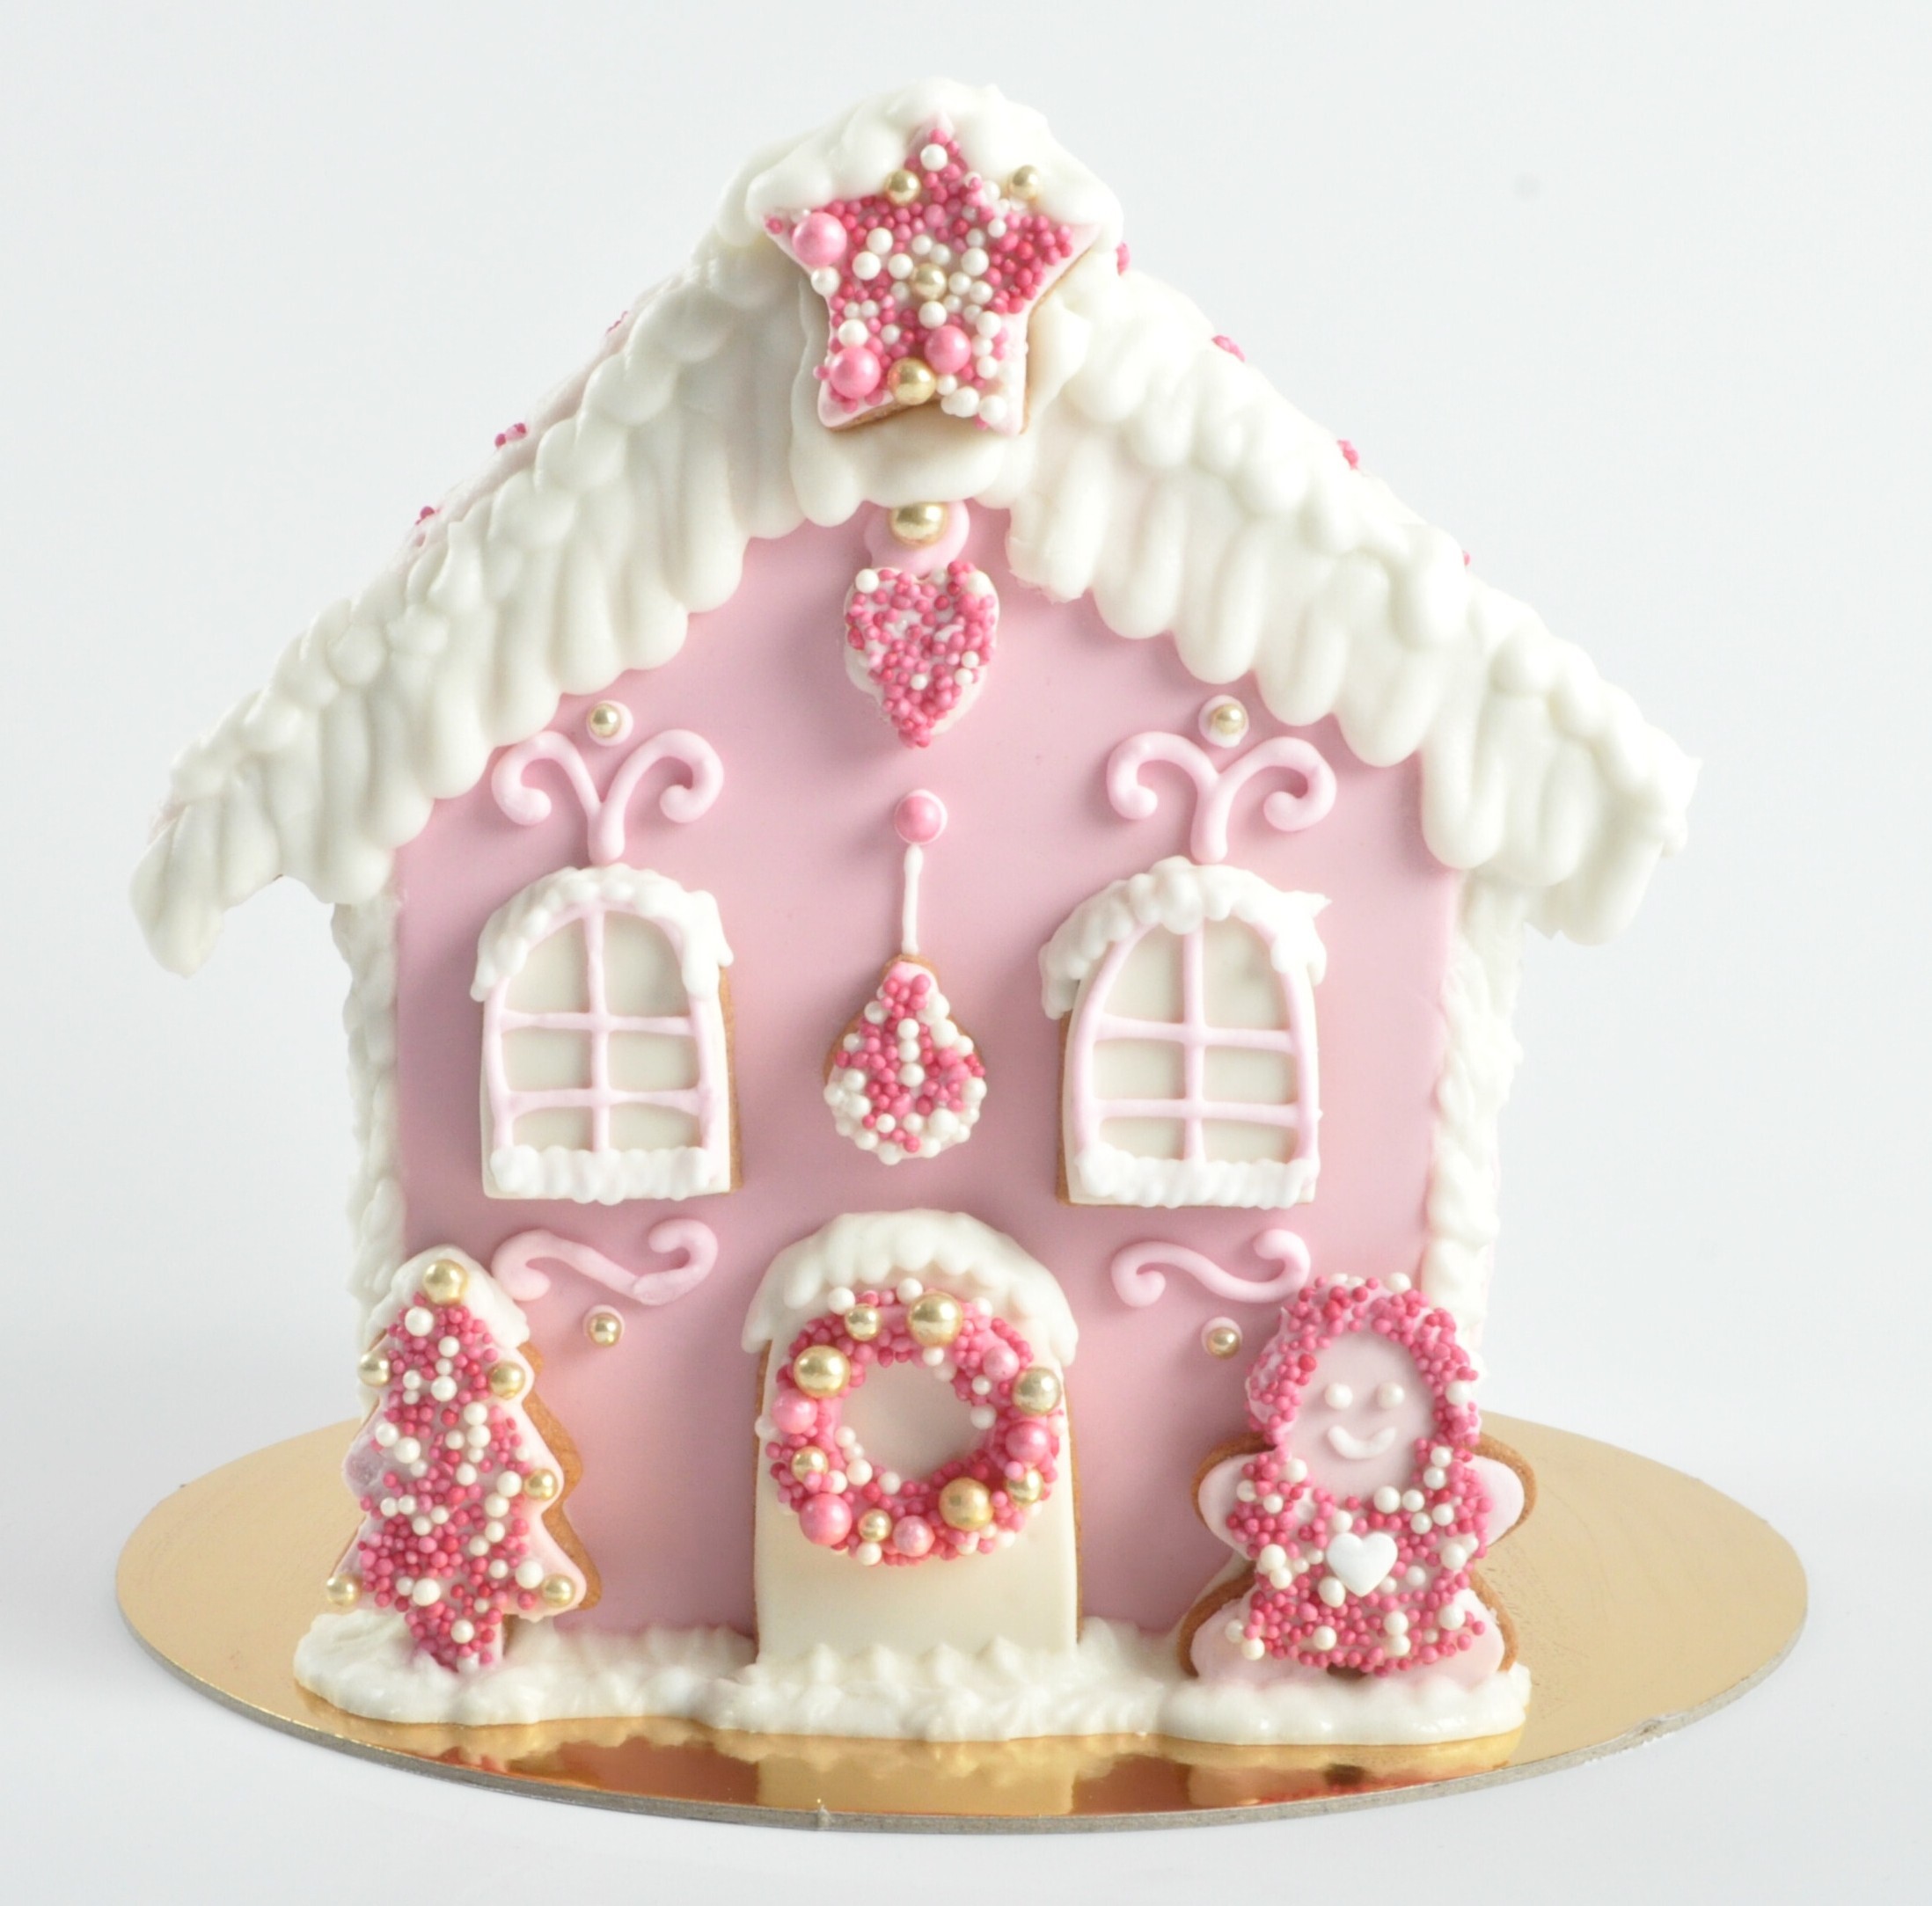
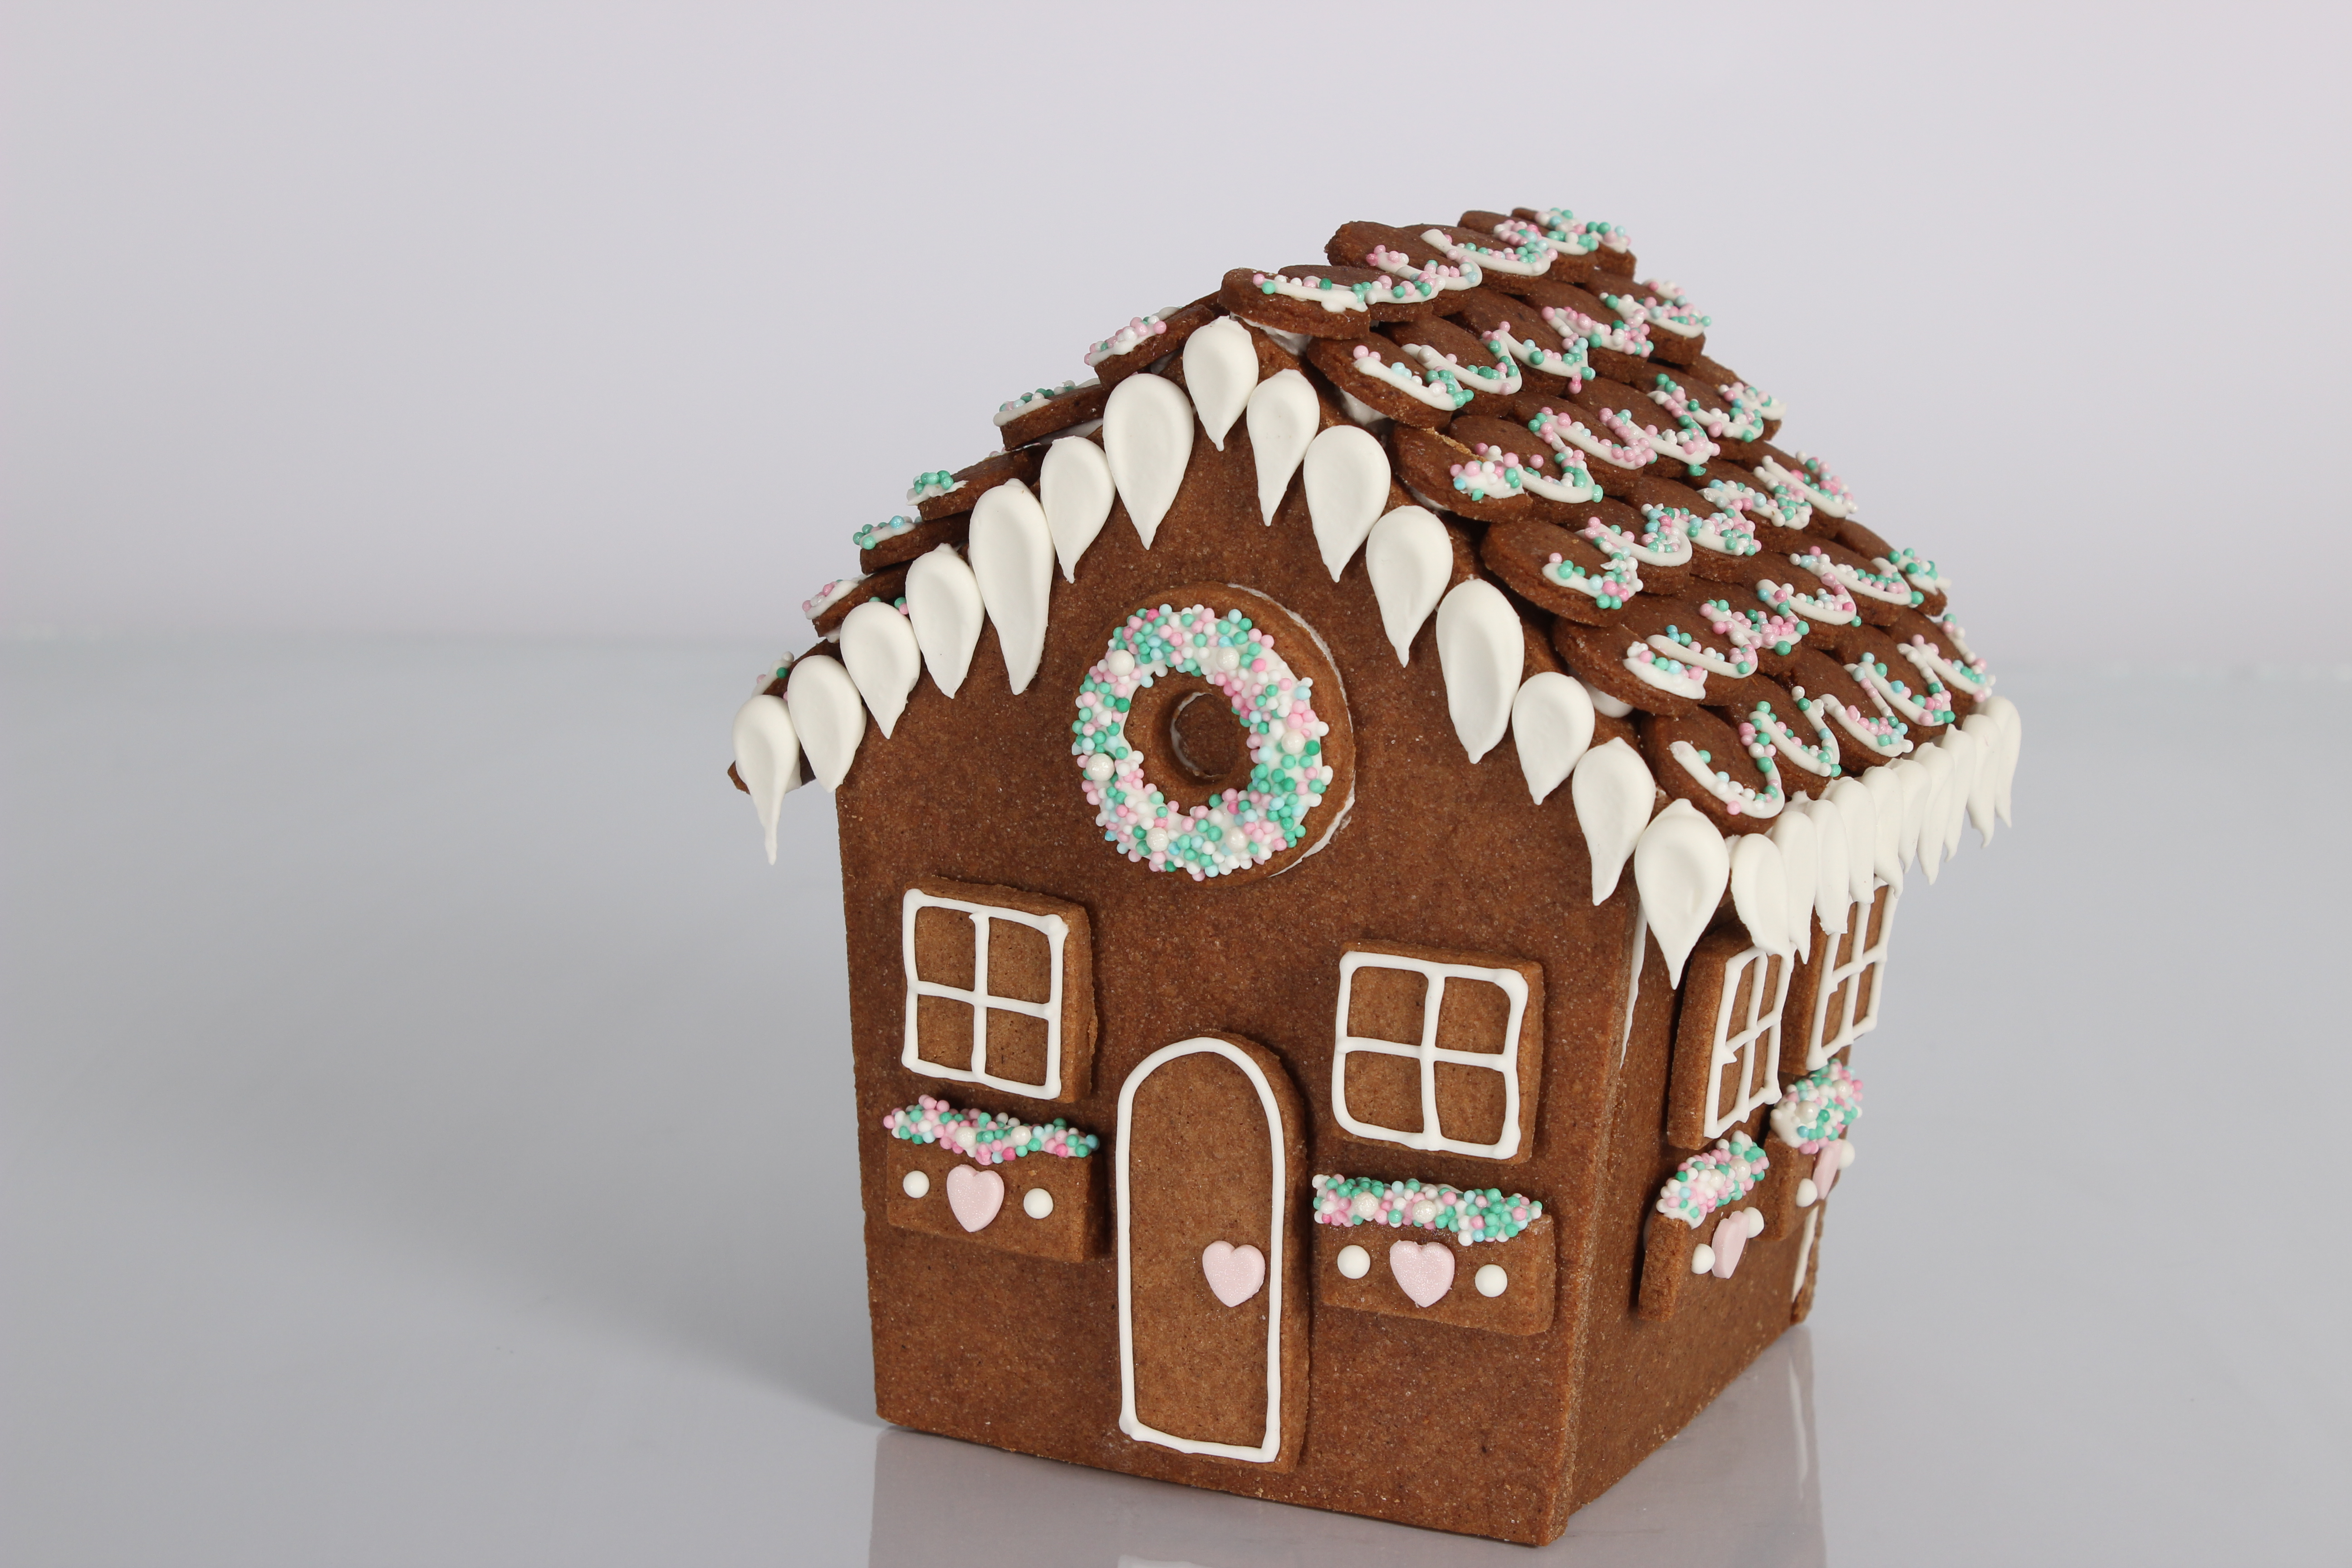
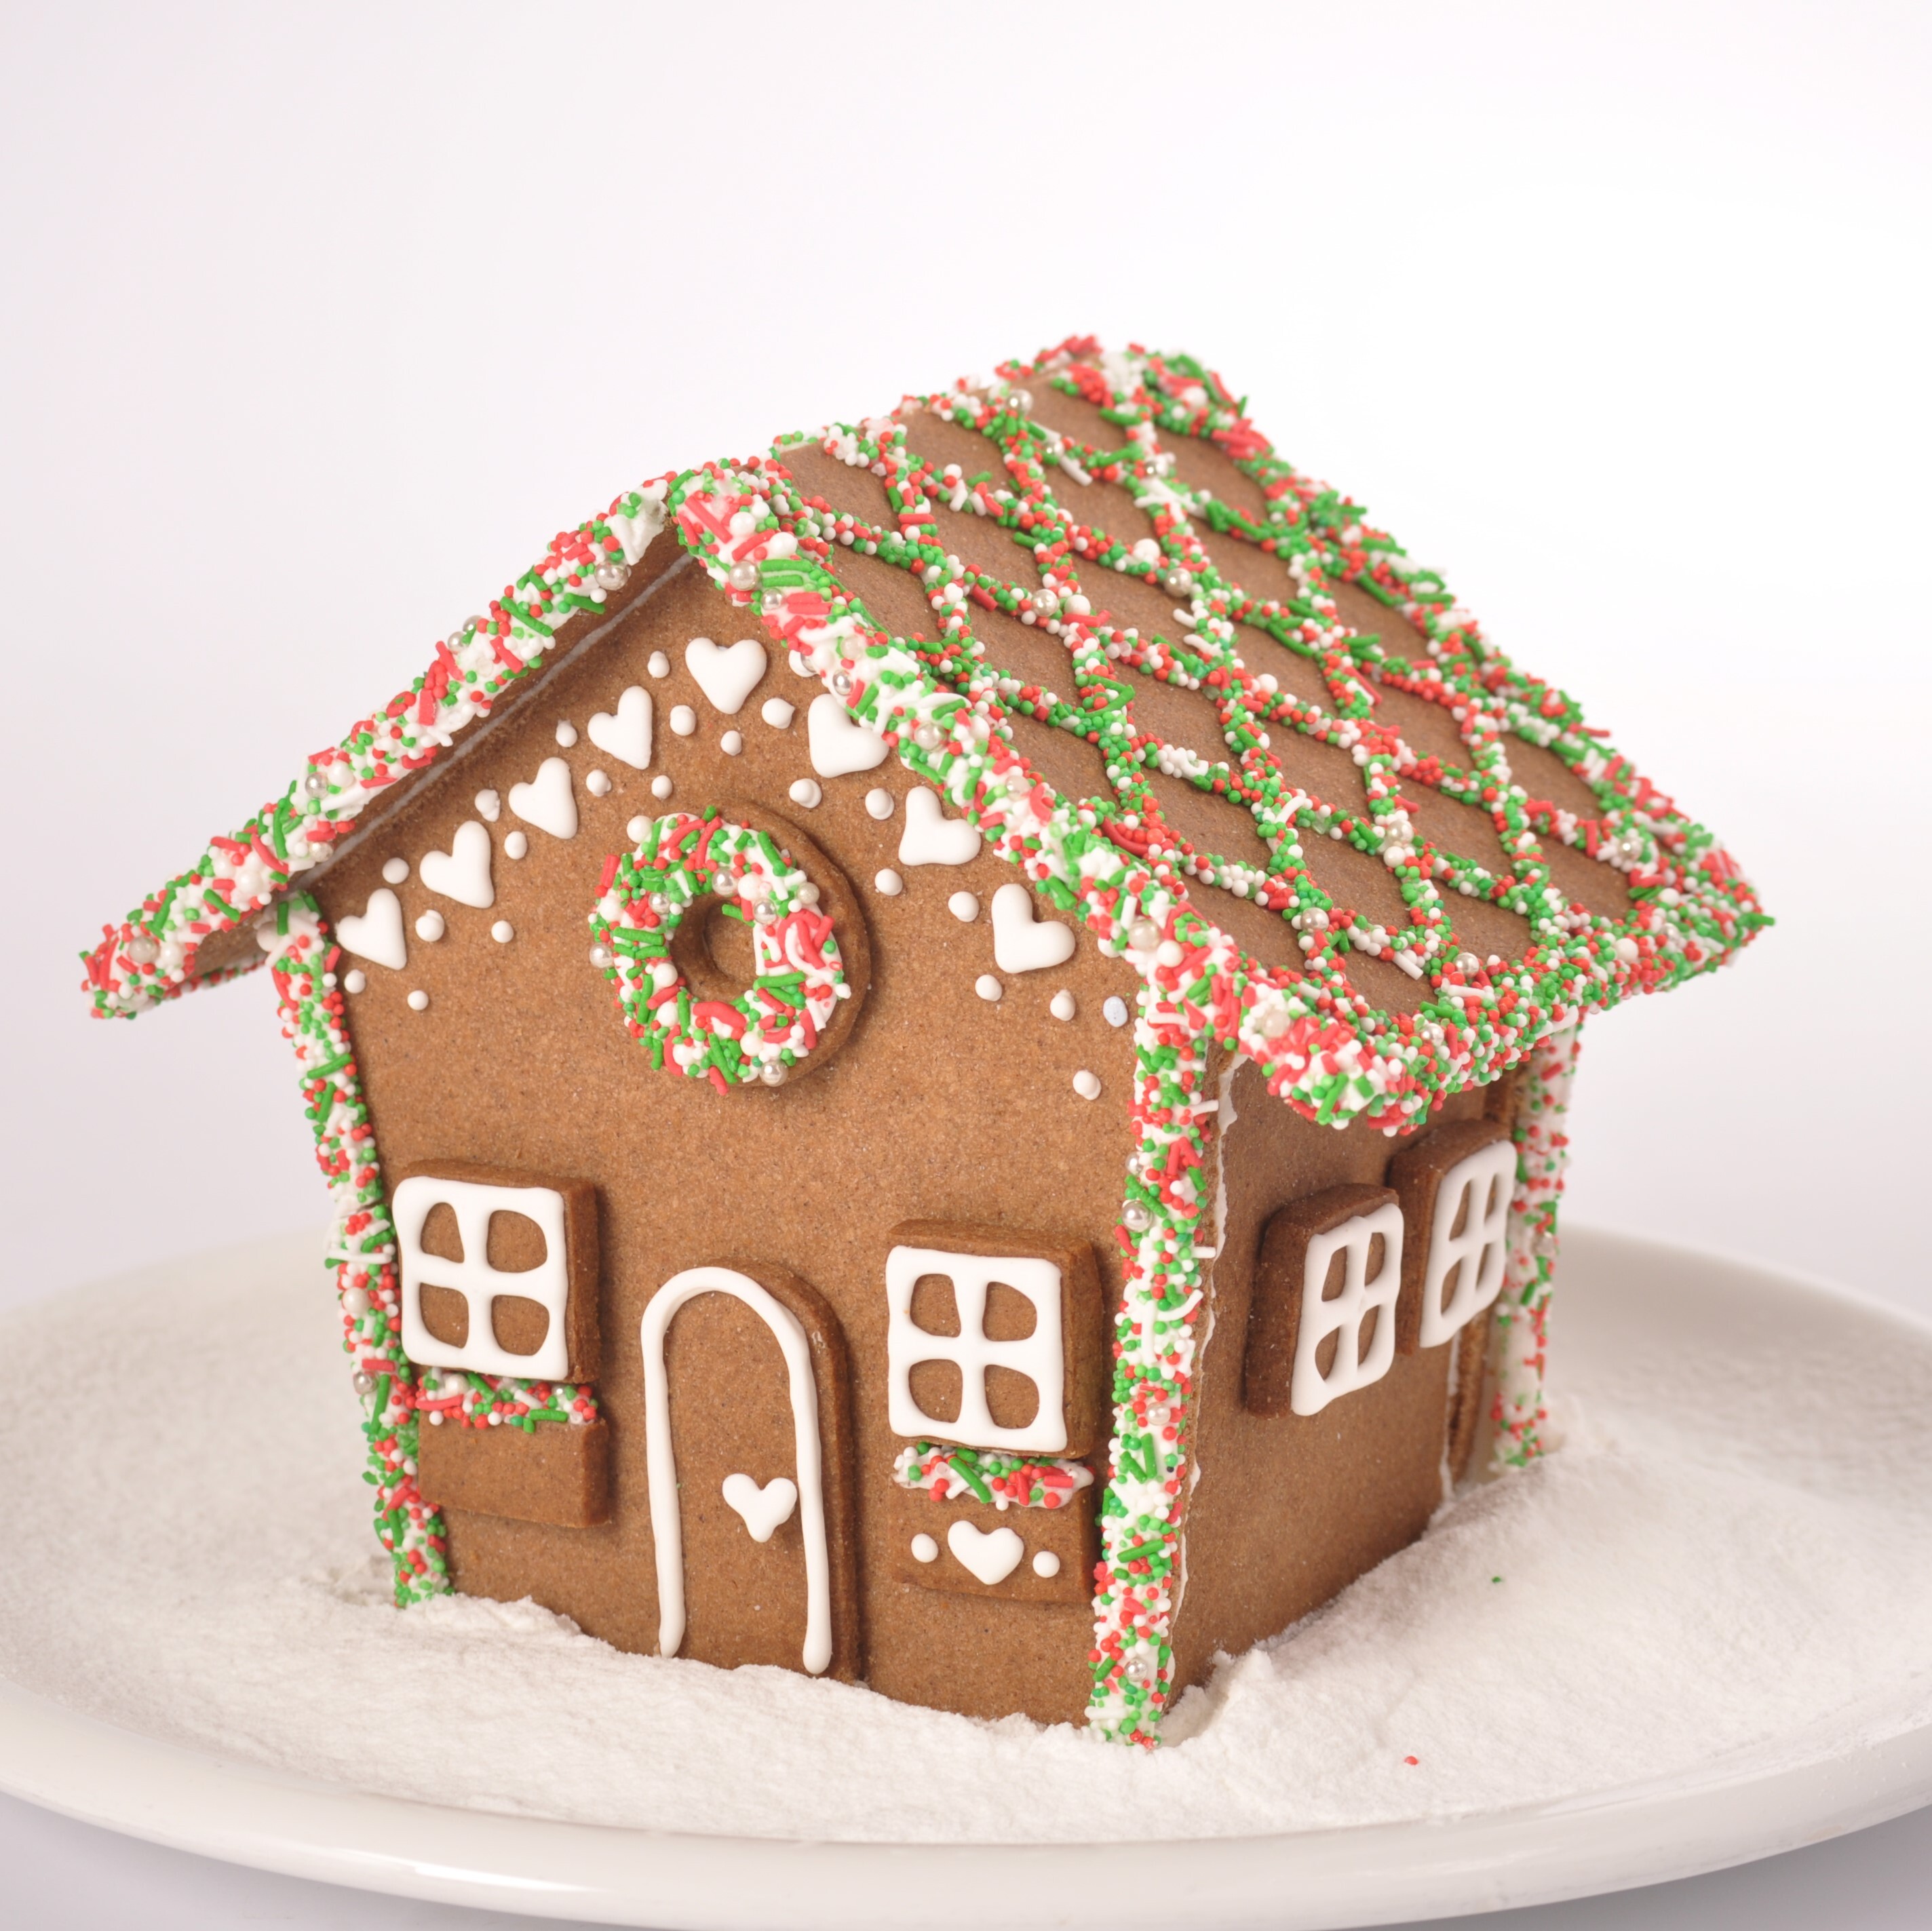
Create your own little gingerbread wonderland with another version of our Gingerbread House recipe and design! This delightful creation brings together the nostalgia of classic holiday baking, and one that is perfect for decorating with family and friends.
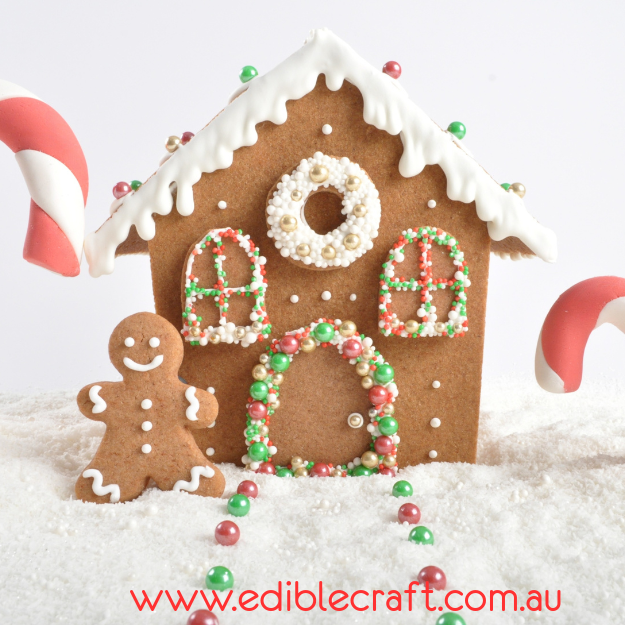
From the snowy roof to the charming candy cane pillars and festive trees, every detail is crafted to spark joy and creativity.
Whether you are a seasoned gingerbread architect or a first time builder, this recipe is designed to be both fun and approachable. With spiced gingerbread walls, smooth royal icing for snowy finishes, and decorations only limited by your imagination, this gingerbread house is more than just a treat. It is a centerpiece for holiday memories.
So gather your ingredients, preheat your oven, and let’s build a little magic this season, one gingerbread village at a time.
See here for alternative house shape templates.
See here for some videos on making the dough, making royal icing and piping and decorating
See Here for the Quick Click summary version recipe sheet
Ingredients:
Either x 1 Roberts Edible Craft Gingerbread Kits (which includes the templates for this house shape), plus additional sprinkles of your choice.
OR
- 600g Gingerbread Mix
- Royal Icing White
- Sprinkles between 80-120g
- Gingerbread House Template
Step 1. Make up your gingerbread dough as per the instructions on the pack. Bake your pieces and allow them to cool, ready for decorating and assembly.
Make sure you have
- Roof x 2 Pieces
- Side Walls x 2 Pieces
- Front Wall x 1 Piece
- Back Wall x 1 Piece
- Front & Back Door
- Windows - Suggest 6 (2 front, 2 back, 1 each side)
- Wreath Accent (or other shape you wish to add)


Step 2. Do a trial run of putting the pieces together so you can smooth any rough edges. We suggest a grater/zester or microplane is great for this.

Step 3. Make up the royal icing according to the instructions. Ideally you want two thicknesses in two separate piping bags. The thick batch is used like a glue to join the walls and roof together and to attach the doors and windows. A thinner batch is used to pipe on smaller details as it allows you to create finer lines. It isn't a deal breaker though, so just do what you are comfortable with.
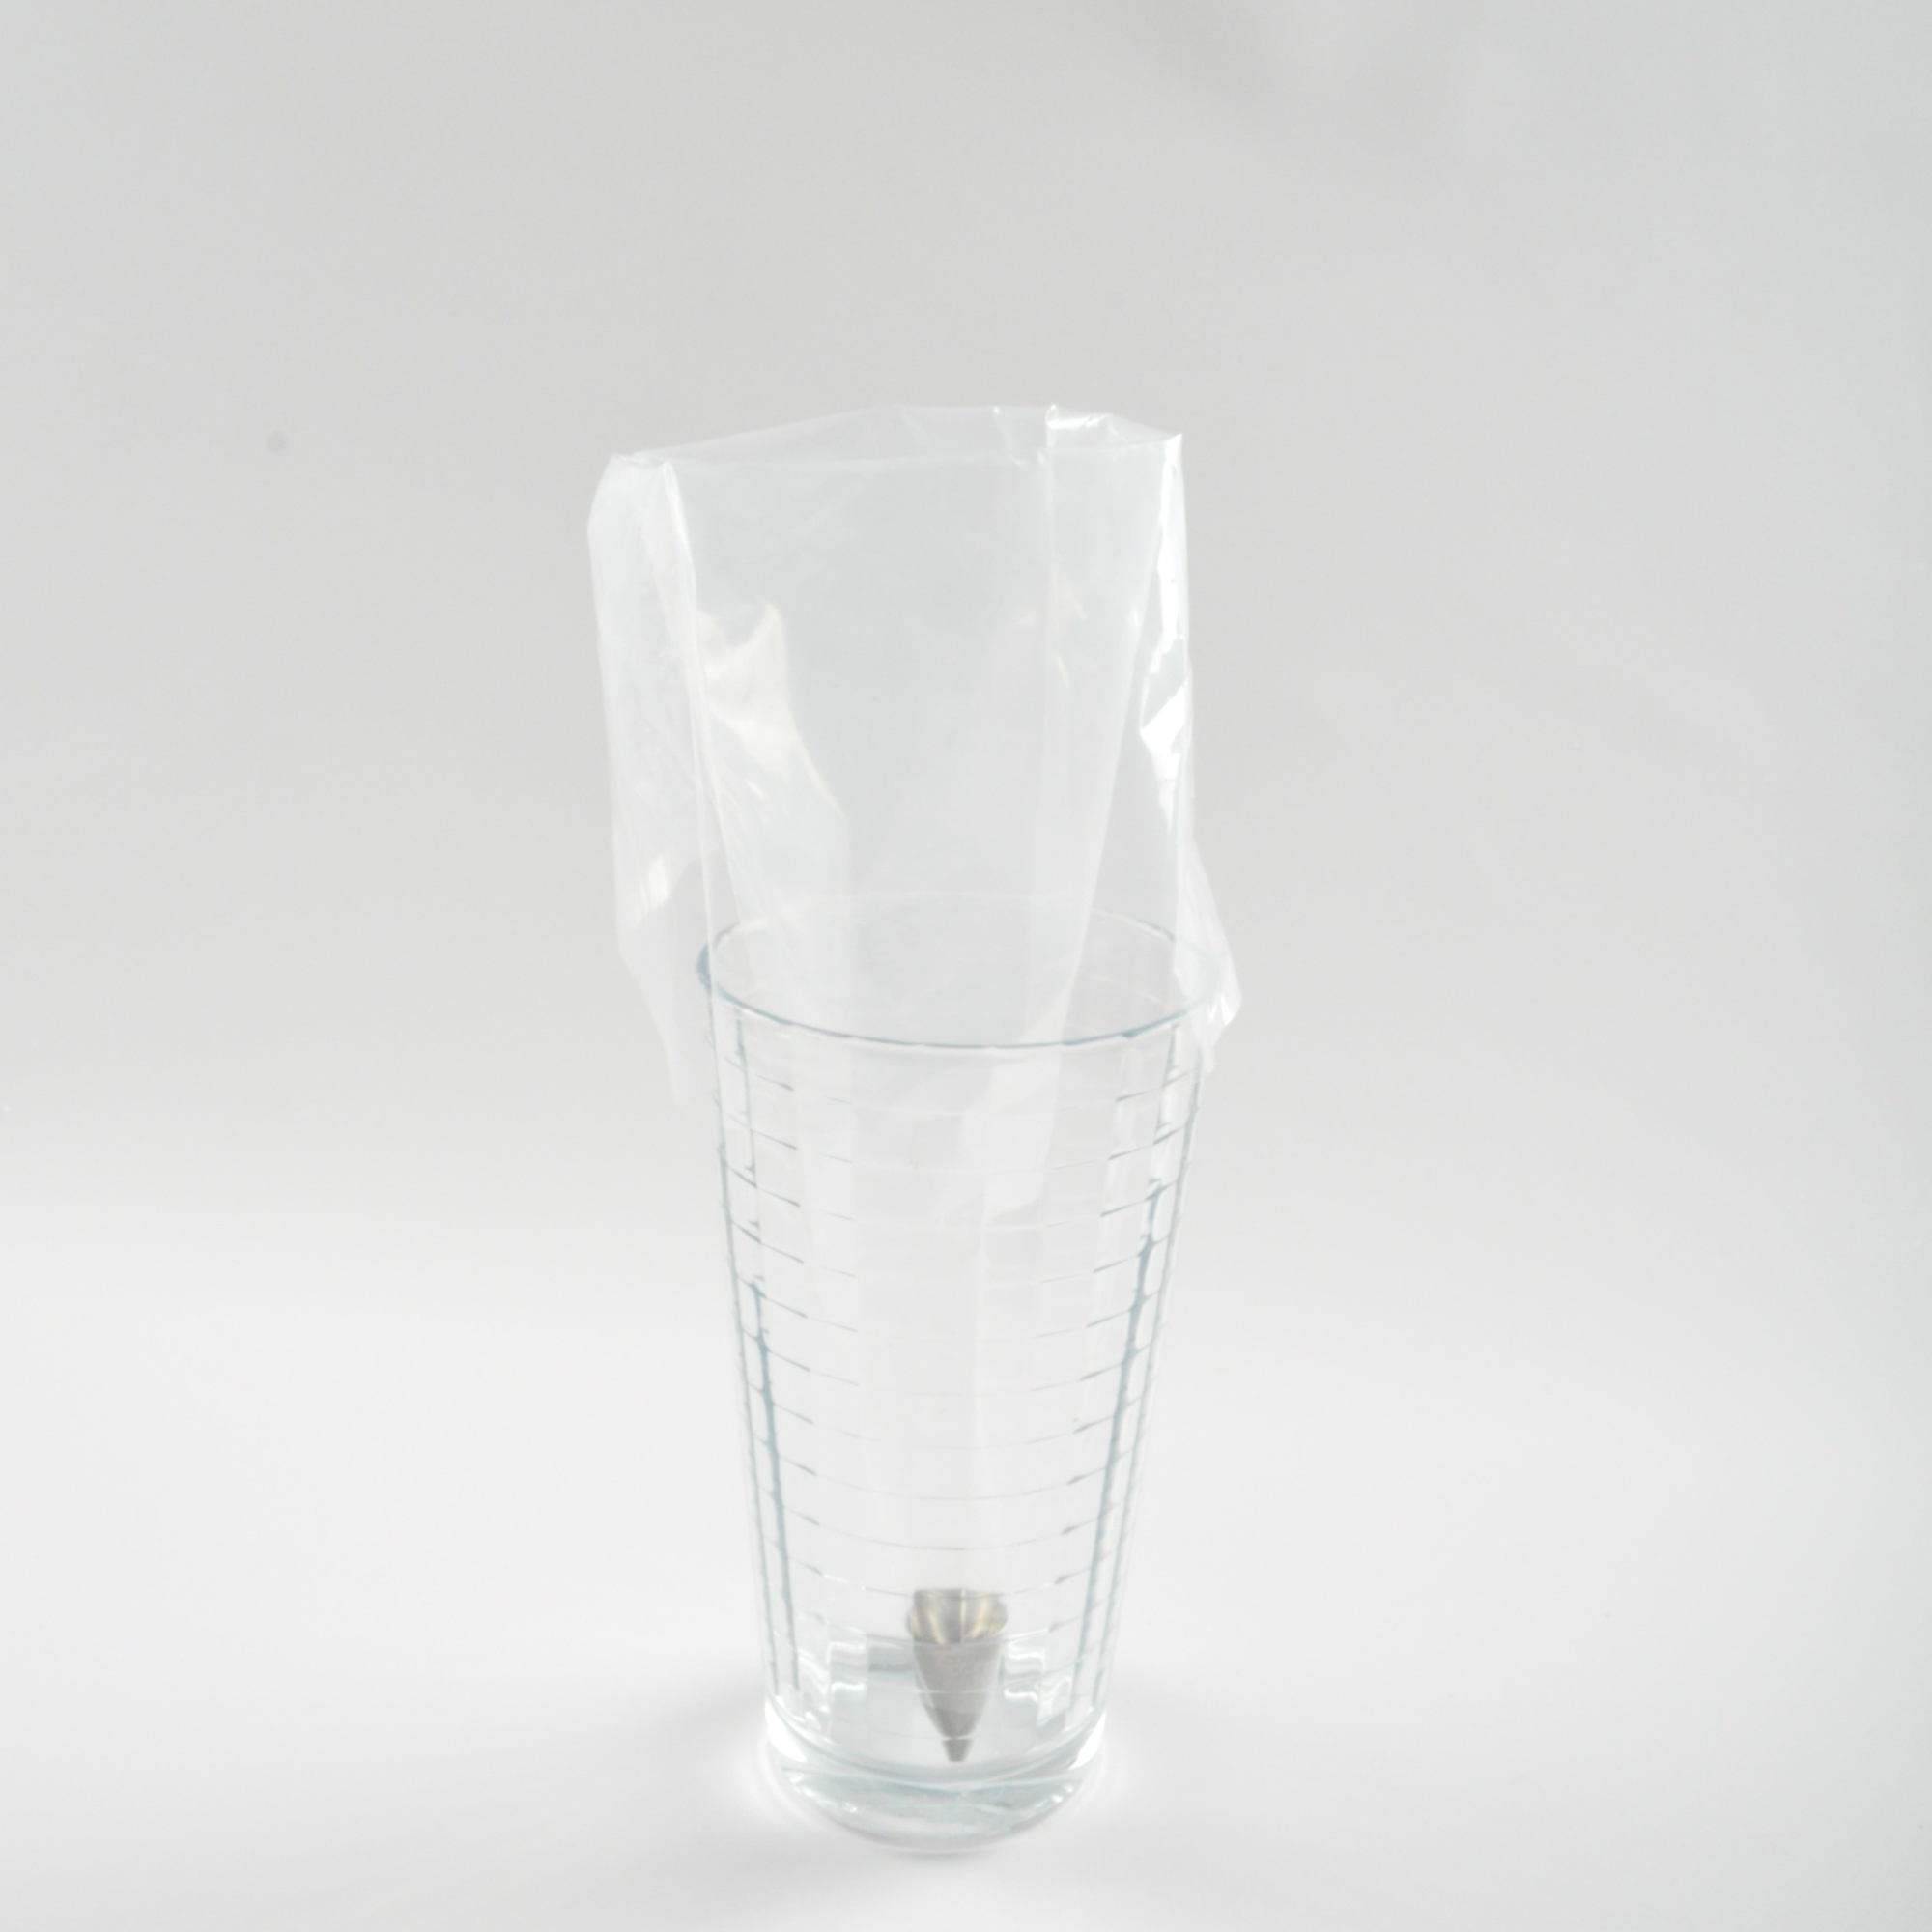
Step 3a. Once the royal icing is made, insert a piping nozzle into a piping bag. (don't cut the end off until you are ready to use it). To make filling the bag easy, place the bag into a tall glass. Fold the ends over the side of the glass (like you are creating a cuff) and then spoon in the icing. Once filled, secure the end. Cover any unused Royal Icing with cling film to prevent it from drying out.


Step 4.
Its better to decorate your pieces prior to assembling them as its much easier to do this on a flat surface.
Start with the roof pieces, piping the royal icing accents and applying sprinkles to them. Work quickly as you need to apply the sprinkles before the icing begins to firm and dry. This will ensure they stay put!


Step 5.
Next work on the windows and doors. Remember there are no rules or body corporate in the Gingerbread Village, so be as creative and whimsical as you like.


Step 6. Once these decorated pieces have fully dried and are secure, attach them to your front, back and side walls by applying a dab of royal icing and pressing on. Allow these to dry until they are firm and secure.

Step 7. Here is where you start to see your gingerbread house become a 3D masterpiece. Grab your cake board or display tray that you want to sit your house on.
Grab some cans or jars to use as supports to hold things in place whilst you are joinging the pieces together. Or another pair of hands will be handy.
Starting with the Side Wall Left, with the decorated side facing outwards towards you, Pipe a line of royal icing down the right hand side edge (essentially the glue line). Attach this to the front wall, on the left hand side (again based on the decorated side facing out) BUT you are attaching it to the undecorated side on the inside edge.

You can see in this image, that the walls are attached to the inside edge. If you attach them to the outside edge the roof will not align correctly. Complete for the right hand side wall, so that all 4 sides are joined and secure. Allow to dry and set a little before joining the roof.

Step 8.
You might like to gather some shorter jars to use as props for the roof (or those extra hands lying about).
Pipe as shown in the images, and gently place the roof on and repeat for the 2nd side.
You can use an additional line of royal icing with some added sprinkles to hide the join lines, or you can overlap one piece over the other. Both methods will work.


Step 9. For some extra character, use your remaining royal icing to pipe some snow capped edges and snowy surrounds. An up and down motion will create this effect.


Well done! Your lucky residents are ready to move in!

Here are some other decorating ideas for you to build your village.