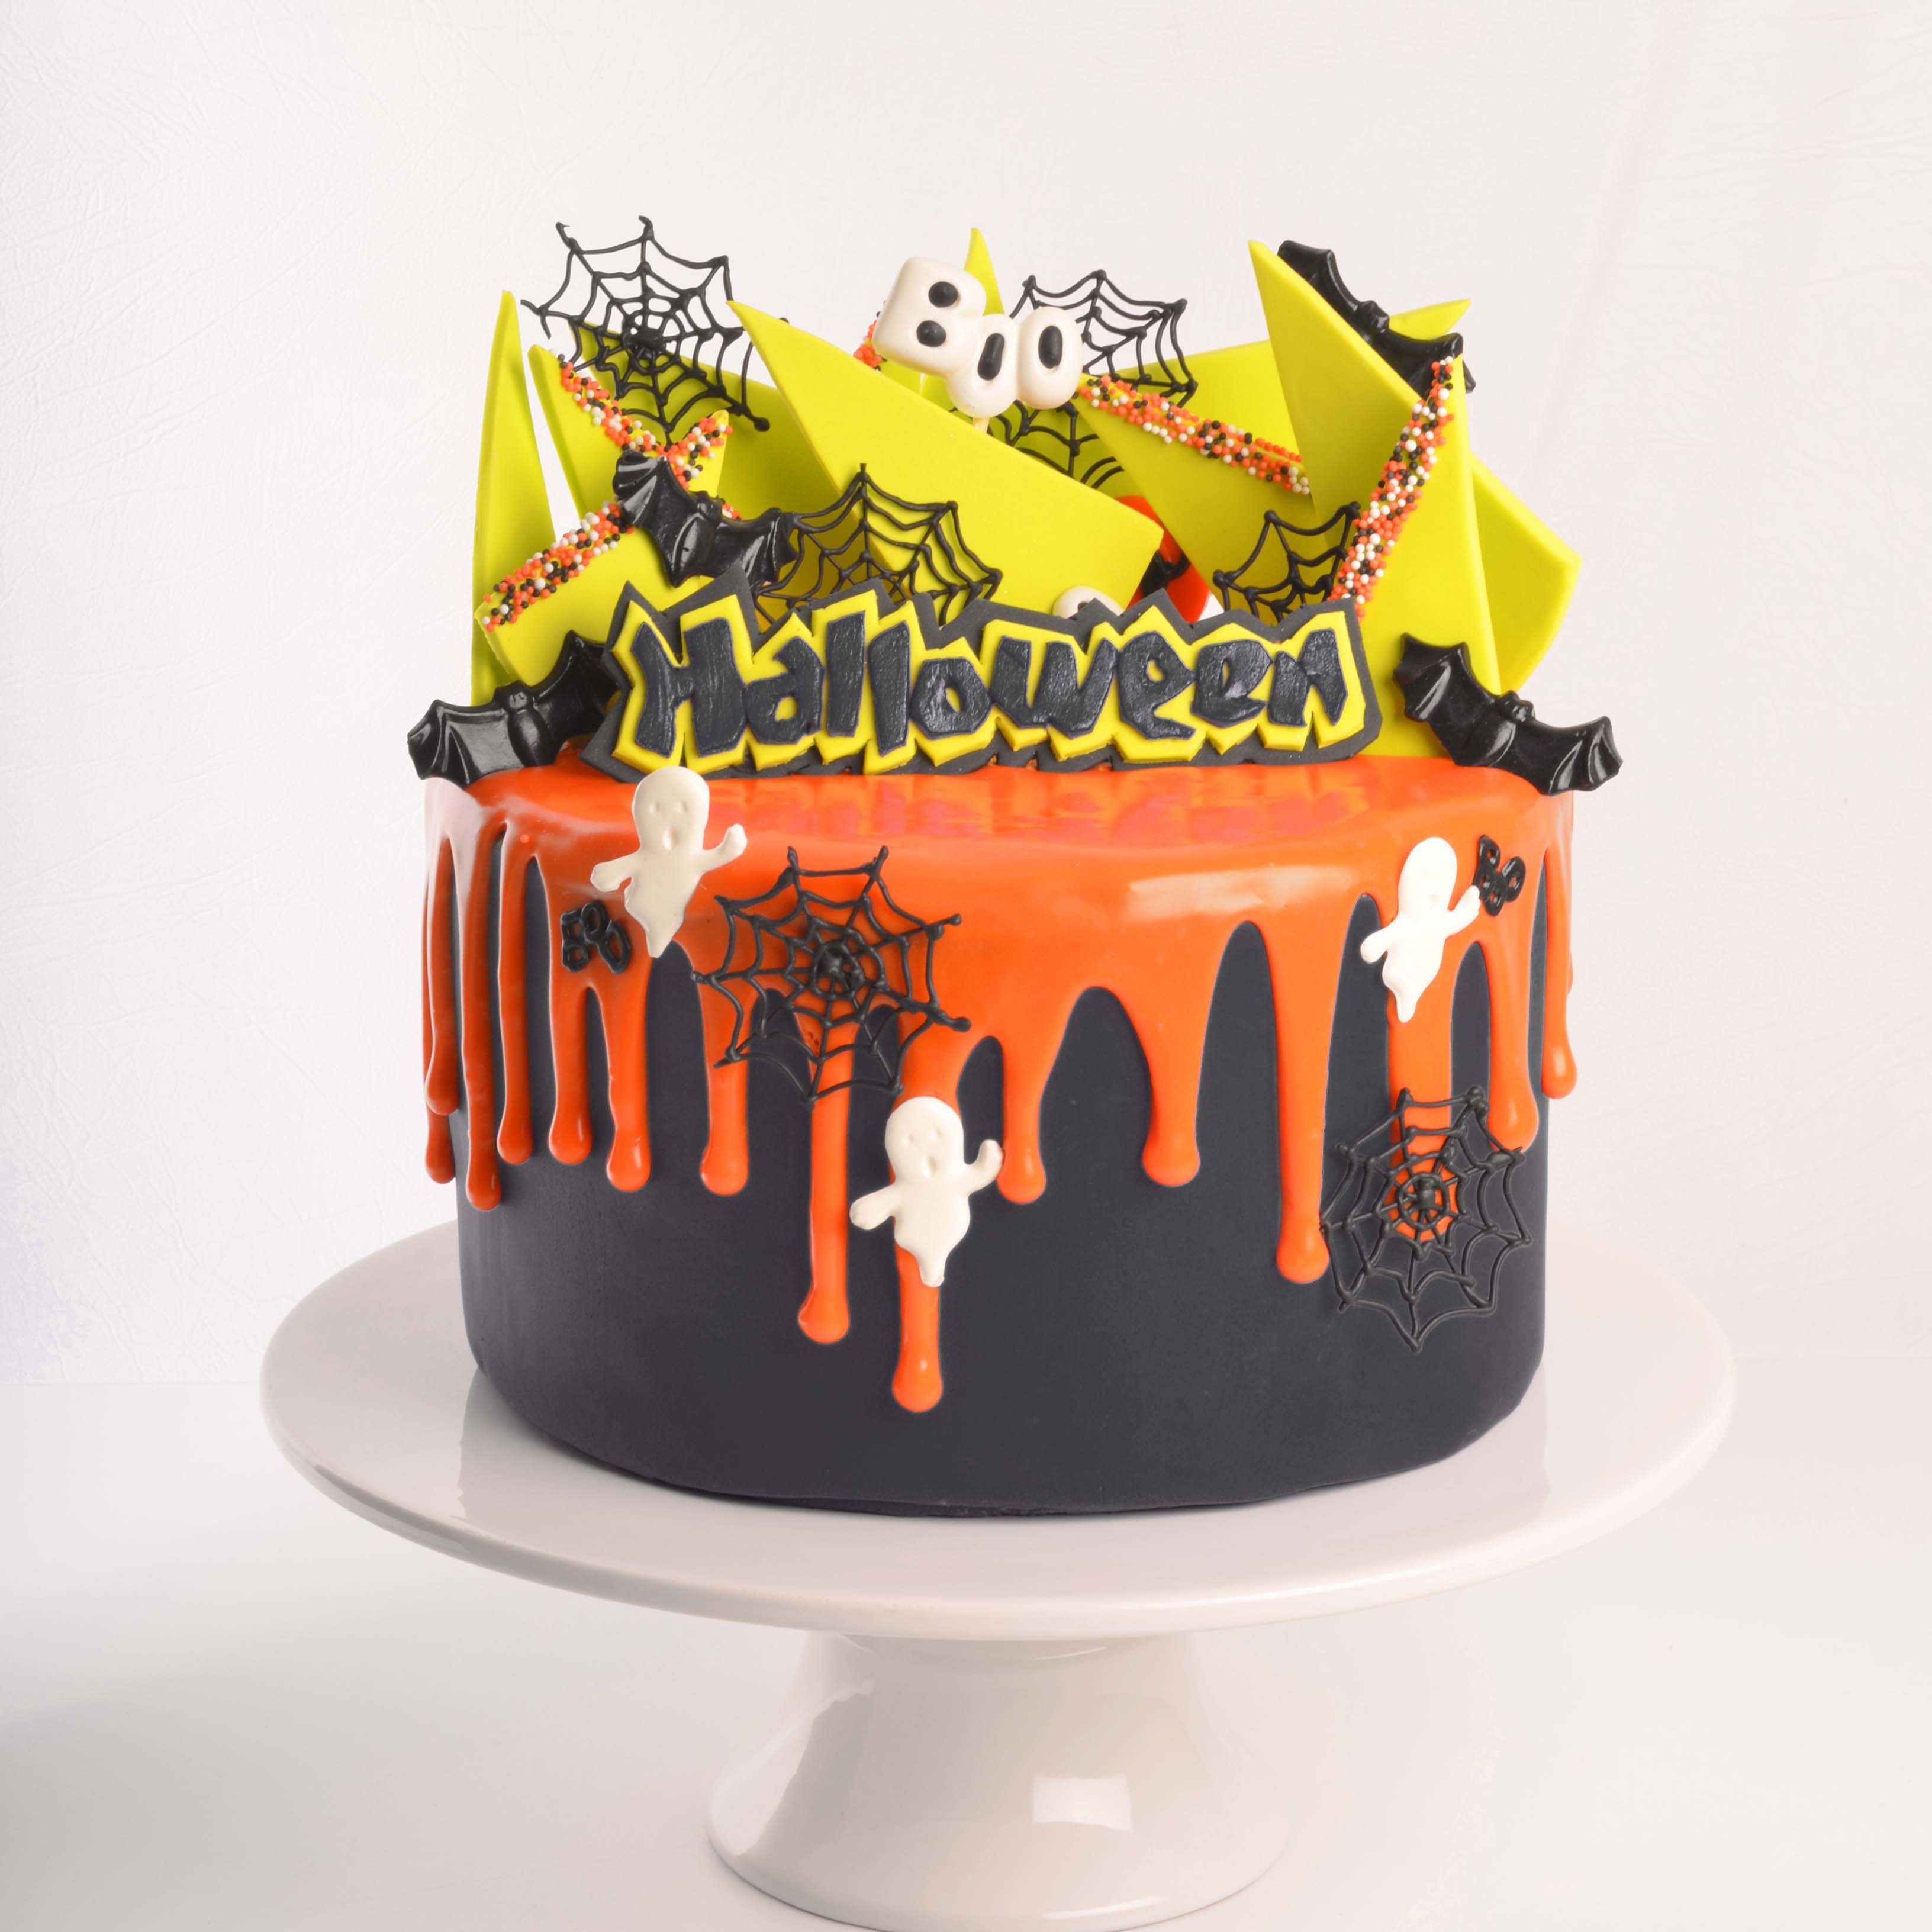
Halloween Cake
Posted by Roberts Edible Craft on 26th Sep 2019
Materials
- 2 x 8” round Roberts Chocolate Mudcakes (See back of packet for instructions)
- 125g Bright Green Satin Ice
- 100g Gum Paste
- Roberts Non Pareils White
- Roberts Non Pareils Black
- Roberts Non Pareils Orange
- 1kg Black Satin Ice
- 300g White Satin Ice
- 300g Roberts Edible Craft White Melting Buttons
- Roberts oil based Powder Food Colours Black and White
- Roberts Orange Flavour Oil
- Orange Ganache
- Roberts Edible Craft Halloween Mould No.82
- Spider Web Template
- Halloween word Template
- *Cake Discs and Cake Dowels – Optional.
Step 1 - Green Shards
Mix bright green Satin Ice and 50g gum paste together.
Reserve a small amount. This will be used for the Halloween Plaque in Step 2.
Cut different sized triangles. Place onto paper towel to dry.
Tip: Make shards up to a week before.

Step 2 - Halloween Plaque
Roll a small amount of black fondant, lay a “HALLOWEEN” word template on top of the fondant. Use a sharp blade to cut around the outline.
Attach to a piece of bright green Satin Ice. Cut around the outline, leaving the bright green visible. Repeat this process using more black Satin Ice. Lay the Plaque onto paper towel to dry.
* Add a small amount of Gum Paste to each colour to strengthen your plaque. Use the remaining black Satin Ice to cover the sides of your cake in step 6.

Step 3
Melt 300g white buttons using the instructions on the back of the packet.
Dip one edge of green shards into melted buttons. Sprinkle with coloured Non Pareils.
Step 4 - Chocolate decorations
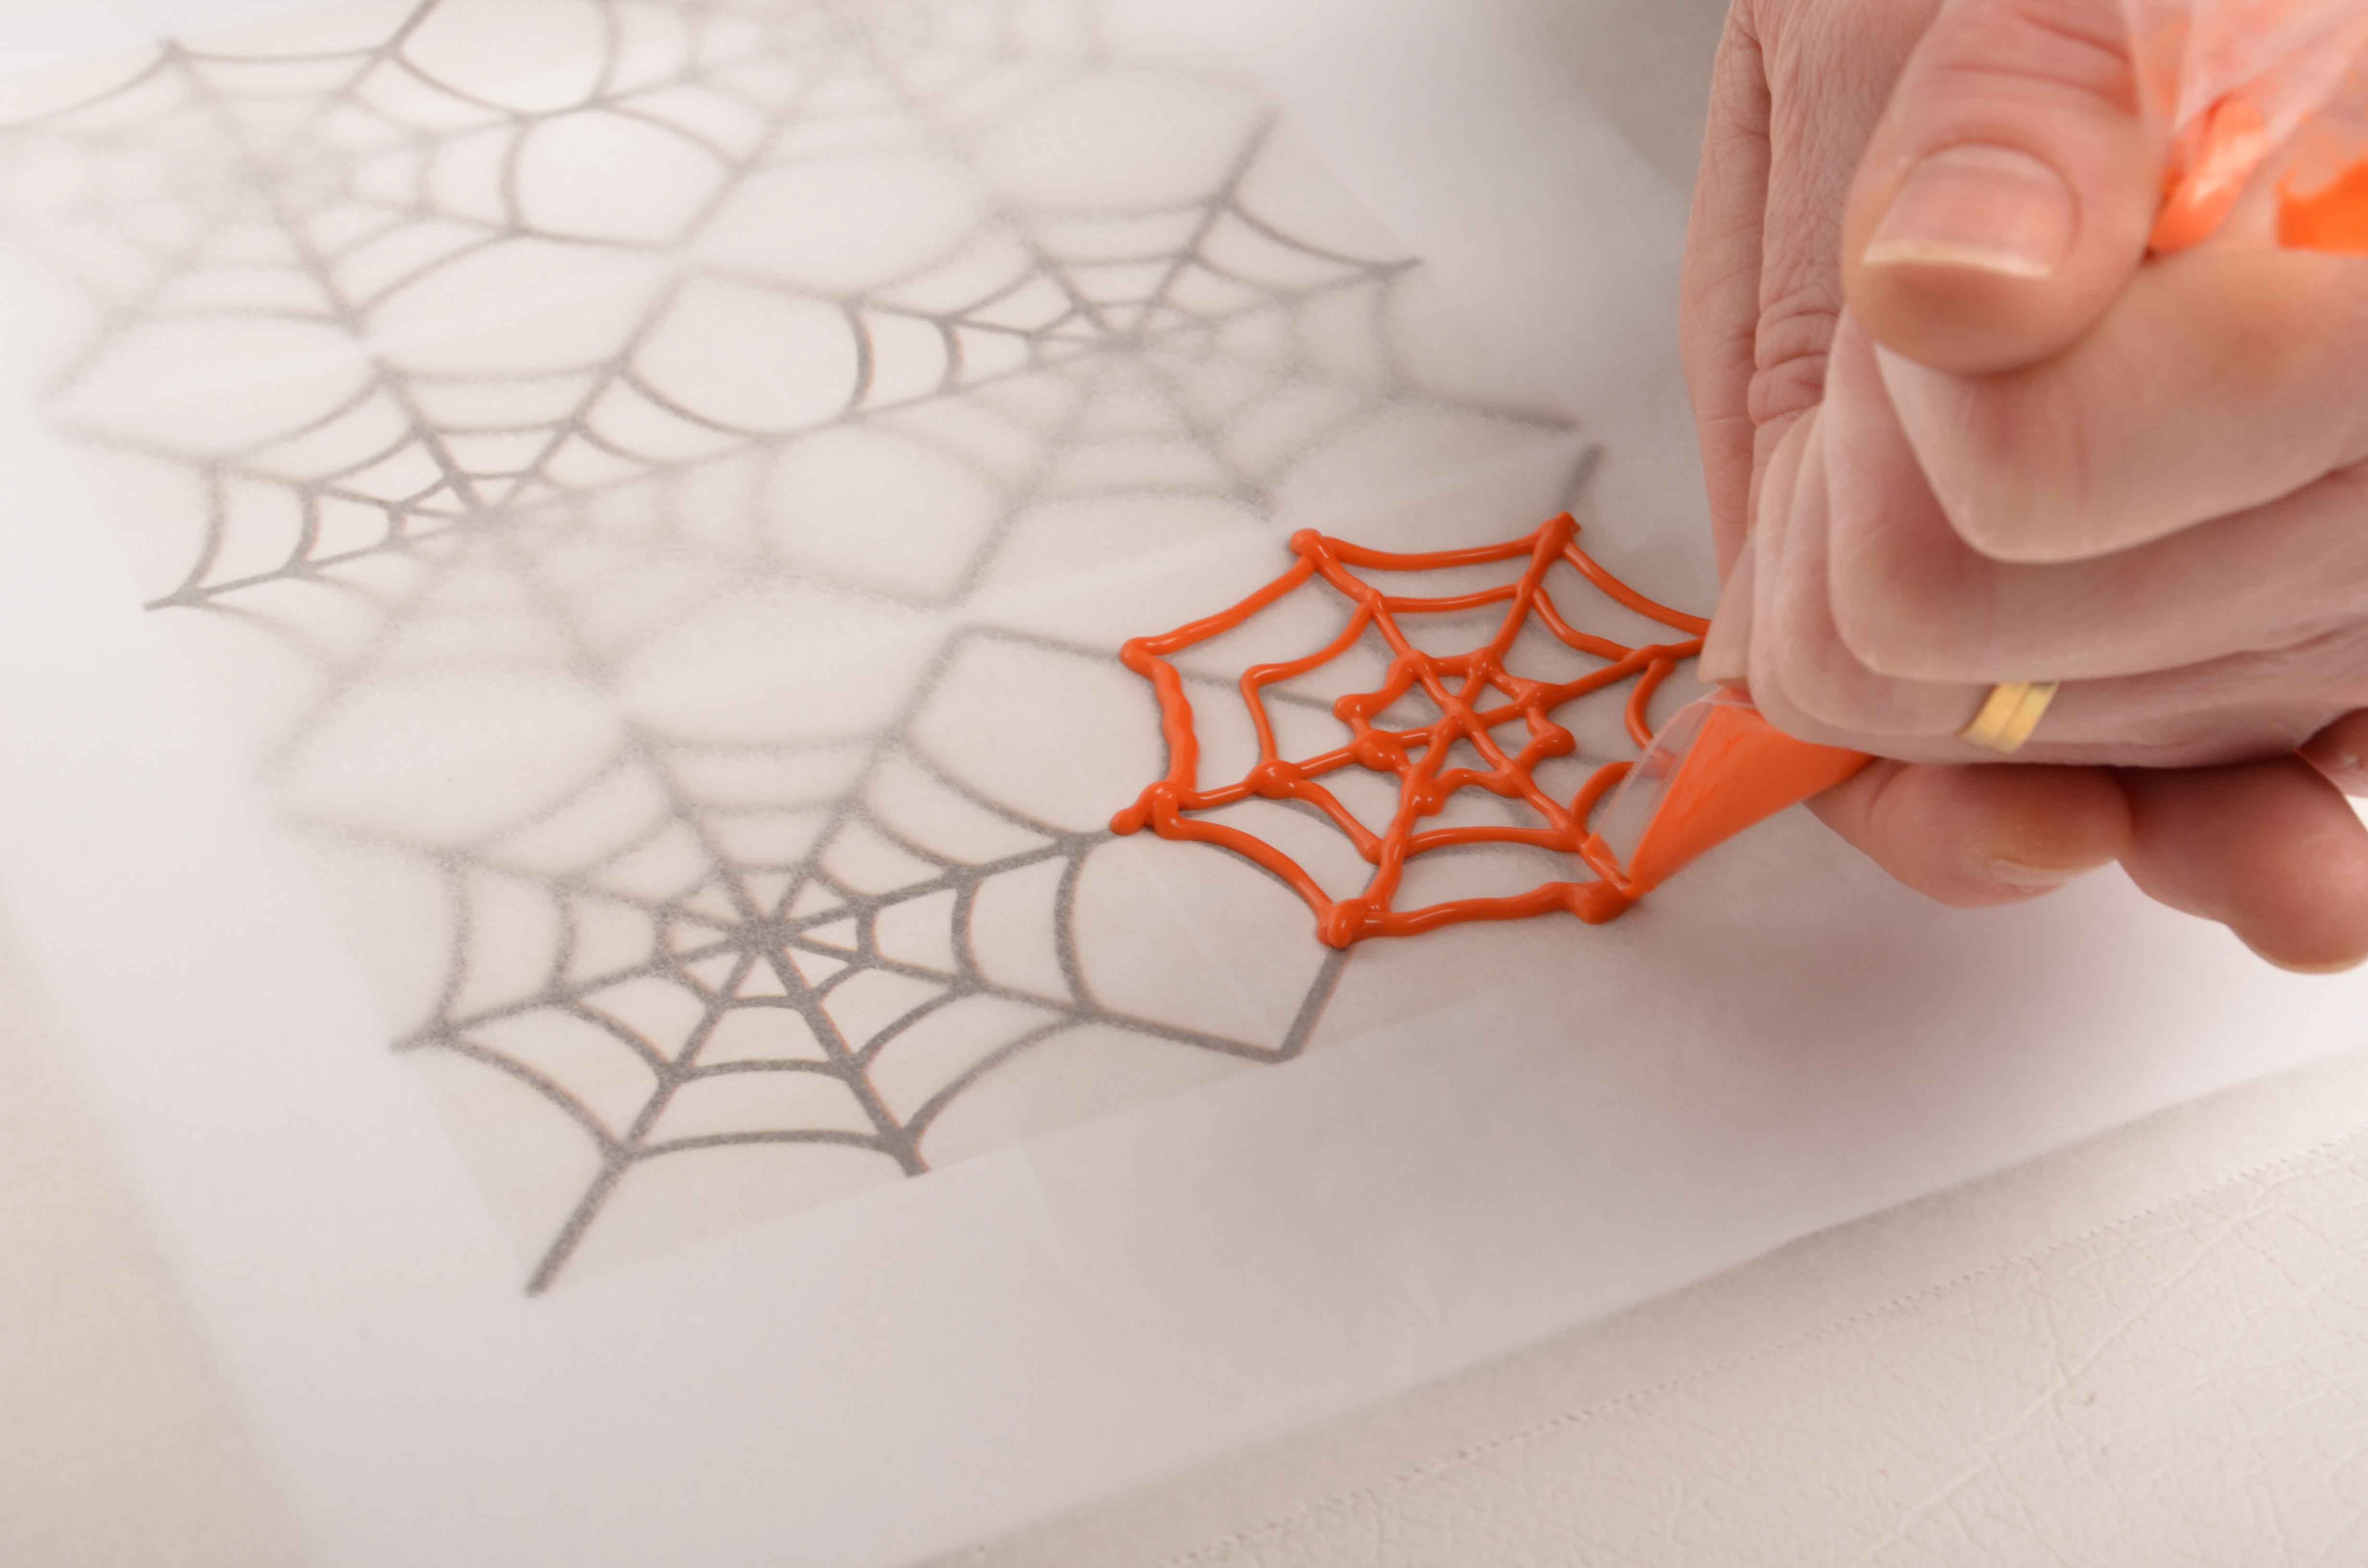
Spider Web
Spoon remaining white buttons into two separate bowls.
Colour one bowl with Black Powder Colour and the other with White Powder Colour.
Place a sheet of baking paper on top of a Spider Web template. Pipe black chocolate onto the baking paper using the web template as a guide.
Leave to set.
Pipe remaining black chocolate into each Bat cavity of the mould.
Tap the mould gently to release air bubbles and place into the fridge to set.
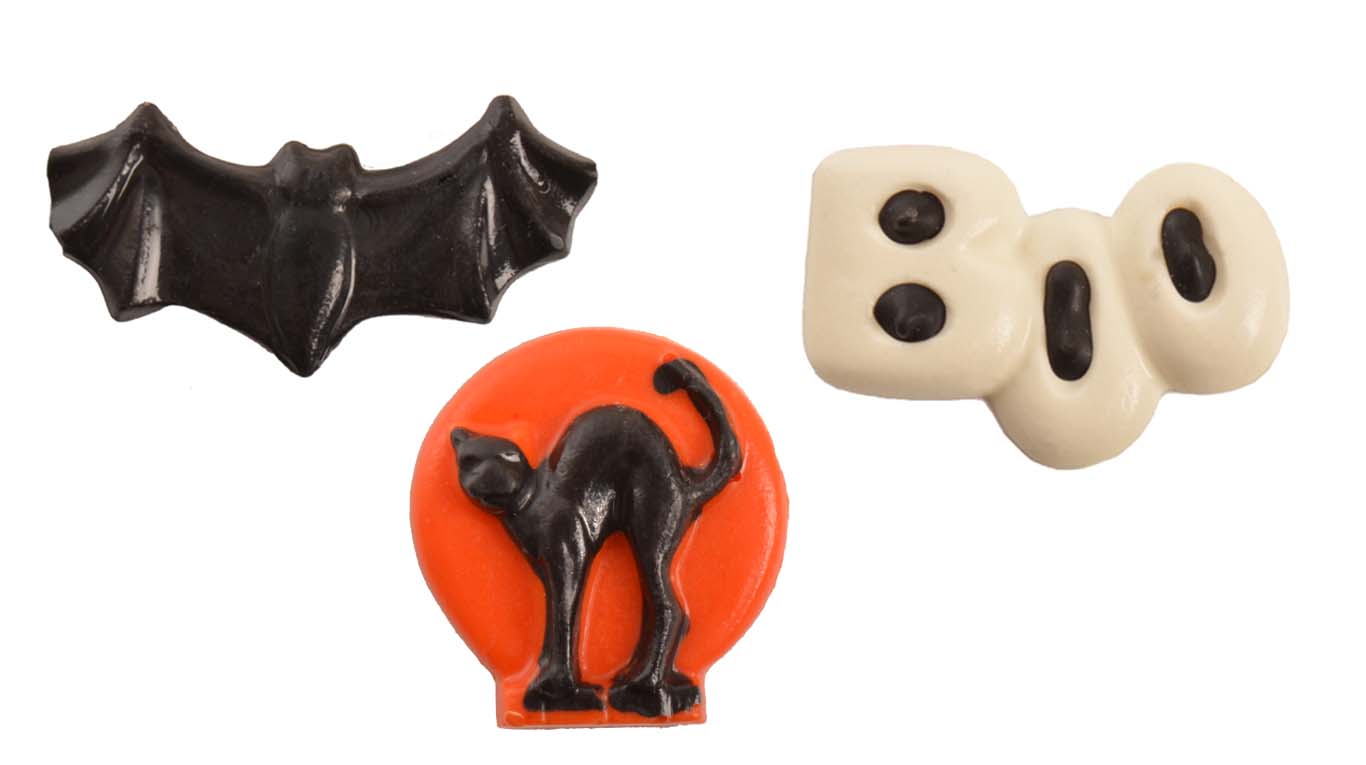
Ghost & BOO
Pipe White coloured buttons into the word “BOO” and Ghost sections of the mould.
Tap the mould gently to release air bubbles and place into the fridge to set.
Step 5
Gently tip the mould over onto paper towel. Chocolates should easily release from the mould. Tip - Store all finished chocolate pieces in an airtight container.
Step 6
Split each cake in half and fill with orange flavored ganache.
Stack and cover cake with chocolate ganache.
Cover sides of cake with black Satin Ice fondant.
Pour orange ganache over the top of the cake.
Carefully push small amounts over the sides.Tip - For stability when stacking, place cakes on Cake Discs and insert Cake Dowels between cakes.
Step 7
Top with decorations.